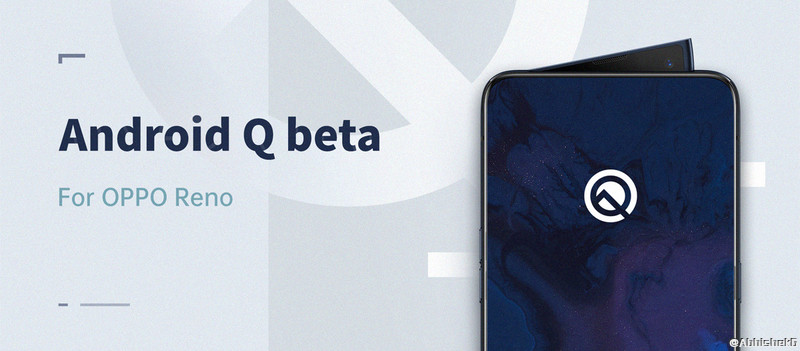
OnePlus, Oppo and even Realme belong to the same holding company, BBK Electronics and recently the OnePlus 6T was announced as a part of the Android Q Beta Program, then how could the other brother company of OnePlus which is Oppo could be left behind. In the Oppo Reno launch event, the company announced that the Oppo Reno would be soon getting the Android Q Beta Update, and today it’s here. Oppo Reno Standard Edition which comes with the normal dual camera setup, a Qualcomm Snapdragon 710 SoC instead of the 10X Hybrid Zoom camera’s and the Qualcomm Snapdragon 855 Chipset as seen on the higher variant which is called as Oppo Reno 10X Zoom.

Oppo Reno comes with a 6.4-inch AMOLED Display with the protection of Gorilla Glass 6 on the front. The phone is powered by the Qualcomm Snapdragon 710 chipset and comes with a dual rear camera setup of 48 MP Sony IMX586 + 5MP depth Sensor, for selfie’s it uses a 16MP motorized shark fin elevated camera which comes out at an 11-degree angle. The phone has a 3,765 mAH battery, the phone runs on ColorOS 6 based on Android 9.0 Pie. It is packed with a Type-C port, 3.5mm headphone jack and more.
Pre-Requisite and Warning:
- Ensure that you have the exact same Oppo Reno Standard Edition phone which comes with the model number: CPH1917EX, not the Reno 10X Zoom Edition
- Updating this device to the beta will format your phone and hence all your data will be erased, so ensure that you have a backup of the data before updating.
- If you don’t have information on flashing and more, we will recommend you not to update the device to the beta, this version is only meant for developers and not the public.
Install Android Q Beta on Oppo Reno:
- Download the Oppo Reno Android Q Beta Firmware and place it in our internal storage of your phone.
- Power off the phone and hold the Power + Volume Down button simultaneously until the logo appears, this will boot your phone into Recovery Mode.
- Find the upgrade file and tap install, and wait for the installation to complete.
If you liked the post, please share the post and stay tuned to GoAndroid for more such tutorials.
